How I was able to Assemble the Study Table
The table that I've ordered arrived 2 days after I've received the Kalimba! I didn't have the pictures how I manage to assemble the bookshelf and so I decided to let me share how I assembled this type of table as I did it.

When I saw this and the instructional piece of paper which is mostly pictures, I felt exhilarated as I thought that I've got another puzzle to solve! Yehey!

These are what I've got for 1459php including the shipping fee. I thought that assembling this table will be a breeze as it only has a few parts. The package also comes with a free screwdriver. However, I would highly encourage you to use a good screwdriver as it makes it more easier to assemble.

First step

Second step

What I did here is that I didn't fully screw the sides so that I could adjust it for the back.

See the two screws at the back?

Third step - bird's eye view

You'll screw the rod from both sides.

Final step - What I did here is I turned over the table so that it will be more stable as I screw the remaining pieces.

The assembled table is done!
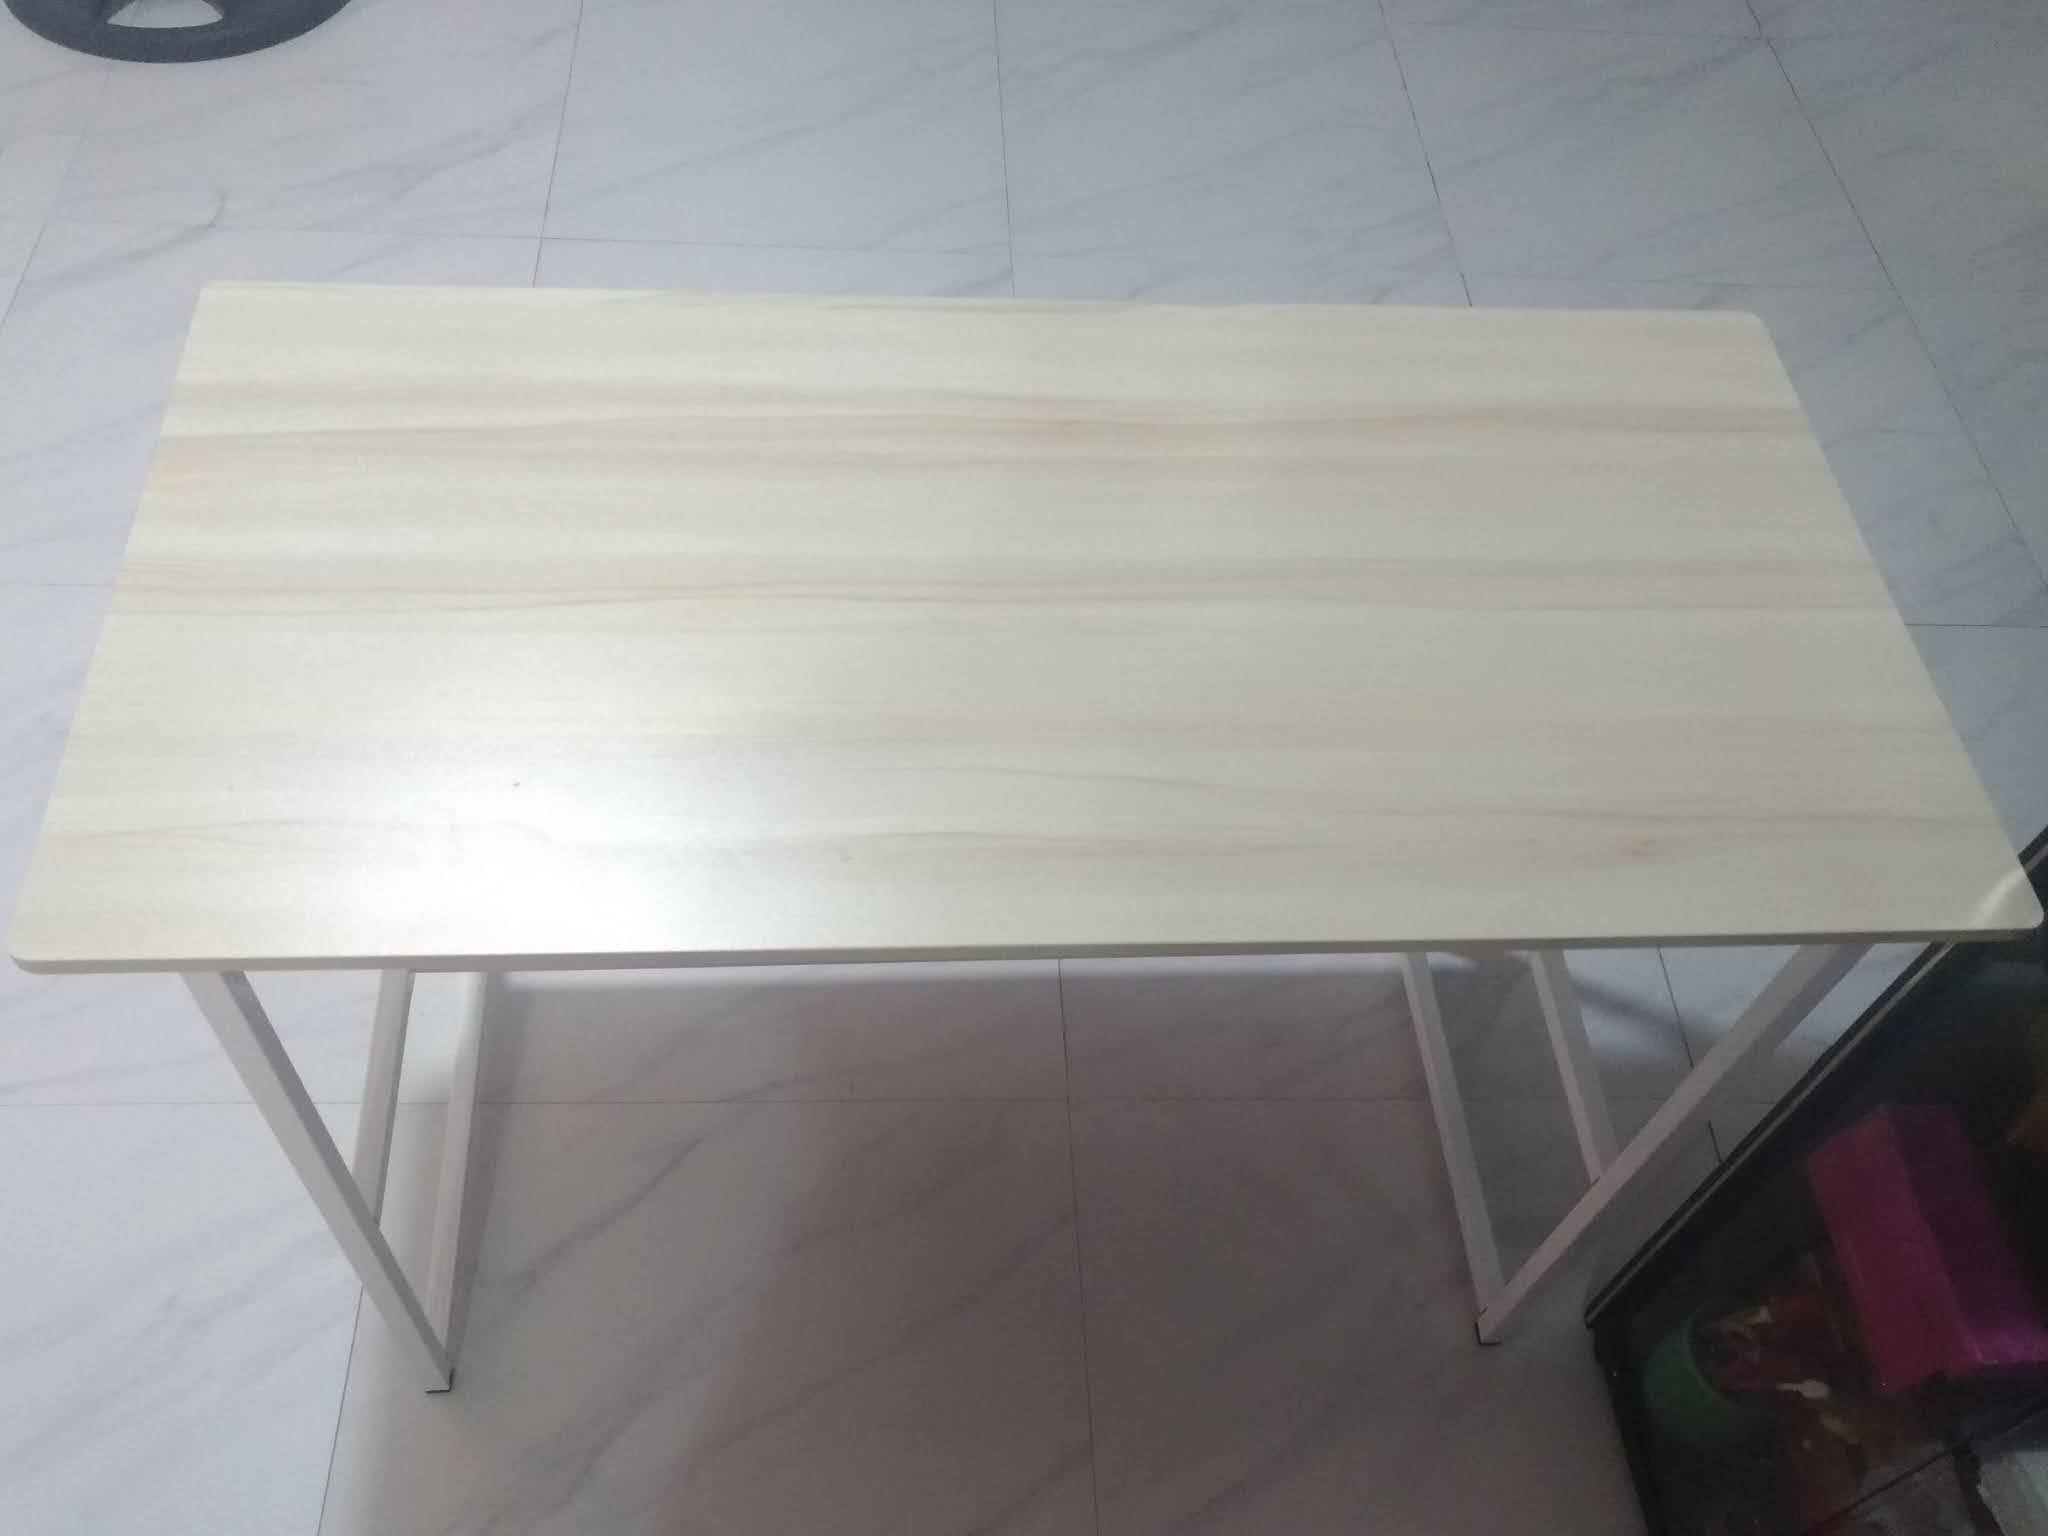
Here is what it looks like from the front.

Back side - this part will be the one facing the wall.
Hope this will help you if ever you had purchased this type of table.
Till next time!
No comments:
Post a Comment